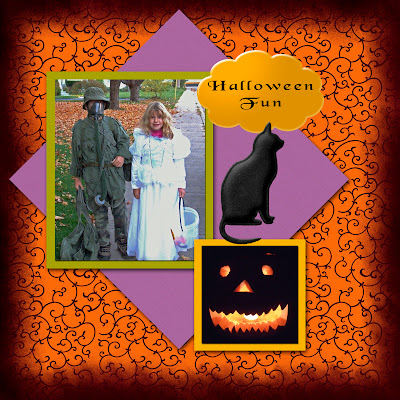
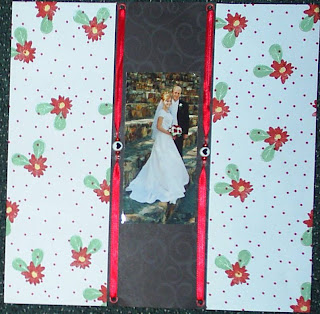
I'm sure you're all anxiously waiting to see the September DT picks, so here they are:
Remember the only way your LO will make it to the blog is by participating in the DT challenges, so head on over to the forum and see what kind of exciting challenges we have for you this month.
Wednesday, October 29, 2008
Tuesday, October 28, 2008
A Digital Freebie
Here is a freebie for all of you. If you click on the image it will take you to the download page. I hope you enjoy it!

If you enjoyed this freebie there are even more of them in the Freebies board on the forum as well as the Kindred Creations Store. Don't forget to check them out!

If you enjoyed this freebie there are even more of them in the Freebies board on the forum as well as the Kindred Creations Store. Don't forget to check them out!
Monday, October 27, 2008
Colour
One of the first things I decide on when I am designing a layout or a digital kit is a colour palette. For a layout I usually pick 3 or 4 colours and for a kit I pick 5. My favourite resource for coming up with colour palettes is the Adobe Kuler site. You can see the thousands of palettes that have already been created, change an existing palette to suit your colour scheme or create a completely new palette. Once you have decided on your palette, you can download it as a .ase file to use in Photoshop and other editing programs.
Here is a palette I put together for Halloween.

And here is how I used those colours in a layout.

Now go visit the Kuler site, create a palette of your own and then use it as inspiration for a new layout. Don't forget to post it in the Kindred Creations gallery for us to look at!
Here is a palette I put together for Halloween.

And here is how I used those colours in a layout.

Now go visit the Kuler site, create a palette of your own and then use it as inspiration for a new layout. Don't forget to post it in the Kindred Creations gallery for us to look at!
Tuesday, October 21, 2008
Text In A Circle
I've seen these instructions posted in numerous places, so thought it would be good to share here as well. It's awesome to see it done on a page!!
In Microsoft word (2000 and up):Open a new document.
1. From the top tool bar choose ‘Insert' --‘Picture’-- ‘Word Art’ OR click on the WordArt icon from the bottom tool bar (the tilted blue A)
2. Click on the sample that looks like an arch (in my program, it is the third on the top); click okay.
3. Type in the text you want. You can change font and size here. *indent one space at the beginning of your type. Click ‘okay’
4. This will display it in your document…click on the image so the box forms around it. Your WordArt tool bar should be visible now.
5. On the tool bar there is an “abc” icon…when the cursor is over it, it should read “WordArt shape”
6. When you click on this, you can see several different shapes…click on the one that looks like the letter O…once you do this, your text will look a little bit squashed…just resize it like you would any other image. To make a perfect circle-- right click on your image--choose Format WordArt--Size--and change the width and height so they are the same. * You can make your circle the exact size of your punch, circle etc. by measuring them before hand and inserting those measurements.
( I wanna thank Skrapnfreak for posting these for me to copy over here! )
Wednesday, October 15, 2008
Re-use it!
I have seen some ingenius ways to use common household items on a scrapbook page and they really help me get inspired, so I thought I would share a few.
Pop Tops
These fun items can be used a number of ways.
*To make what looks like a belt with some ribbon and the soda pop top as the "buckle"
*As a clasp on a mini-album. You bend the pop top so that the wider circle goes over the side and then glue the other side to the front of the album. Use ribbon to tie it shut. Or use two pop tops put the second one on the back page of the mini album and use a small peice of ribbon to tie them shut.
Clock Handles
I've seen these all over the place. People use them like arrows. They look great on heritage layouts.
Saran Wrap
If you wad it up and dip it on a stamp pad it makes a great texture background. I use this all the time when I have a color that I want to use in a stamp pad, but I don't have paper that will match. It takes about 3 minutes to cover a whole 12x12 page.
Here is a layout where I used saran wrap to make the background texture:

Beads
These are another great thing to use, and there are lots of kinds of beads you can get that won't make your page too lumpy. Here is one way I have used beads.

Pop Tops
These fun items can be used a number of ways.
*To make what looks like a belt with some ribbon and the soda pop top as the "buckle"
*As a clasp on a mini-album. You bend the pop top so that the wider circle goes over the side and then glue the other side to the front of the album. Use ribbon to tie it shut. Or use two pop tops put the second one on the back page of the mini album and use a small peice of ribbon to tie them shut.
Clock Handles
I've seen these all over the place. People use them like arrows. They look great on heritage layouts.
Saran Wrap
If you wad it up and dip it on a stamp pad it makes a great texture background. I use this all the time when I have a color that I want to use in a stamp pad, but I don't have paper that will match. It takes about 3 minutes to cover a whole 12x12 page.
Here is a layout where I used saran wrap to make the background texture:

Beads
These are another great thing to use, and there are lots of kinds of beads you can get that won't make your page too lumpy. Here is one way I have used beads.

Saturday, October 4, 2008
August DT picks
Here are the August Design Team picks! Congratulations ladies, this was once again an EXTREMELY close vote!
Subscribe to:
Comments (Atom)


