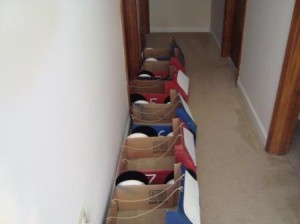
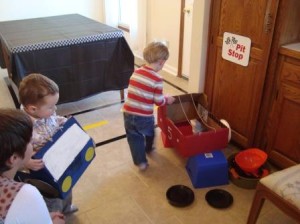
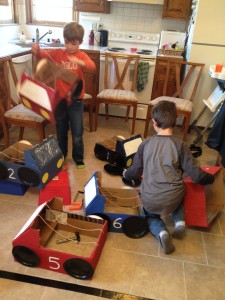
Most of the prep work for the party was these fun little cars for the kids to use at the party. We used the small moving boxes from Home Depot and cut them in half. Then we cut a small portion of the longer lid sides pulled them up and used them to support the "windshield". I had seen a lot of really fancy cars on pinterest, but I really just wanted something simple and easy for the kids to walk around in. If you are doing this party for older kids, you probably wouldn't have to cut the boxes in half. We did because we knew they would be used by 2 and 3 year olds.
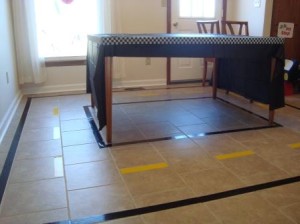
The Race Track was so easy: black and yellow duct tape. We even had the tile lines to follow. We were putting up decorations while Kian was napping. When he woke up and saw everything, he knew exactly what to do with the race track
.
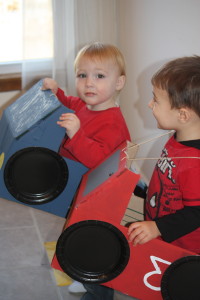
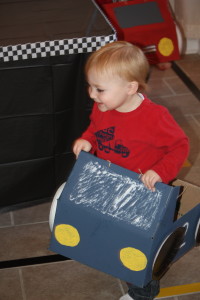
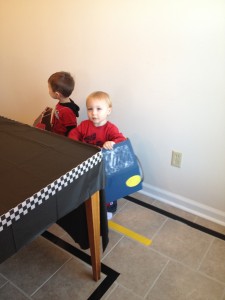
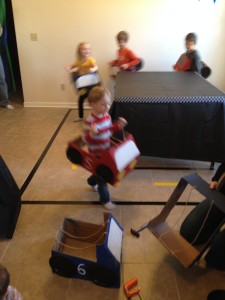
A few of the older kids got going pretty fast around the race track!

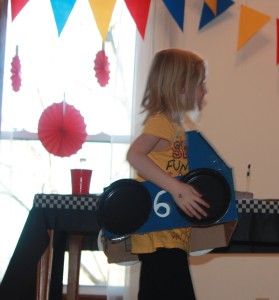
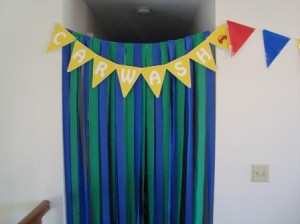
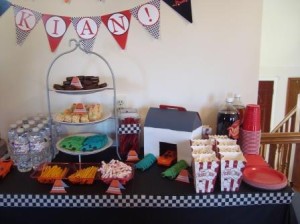
The car wash was just streamers folded over some twine and stapled, then hung across the hallway entry. The banner is a printable banner I created for the party. You can find it in the Go Car Go Printable Party Pack in my shop.
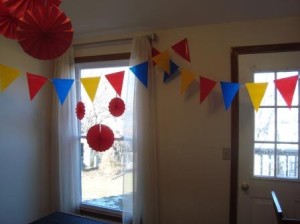
I used a lot of banners to decorate for the party. It made it feel like a race track.

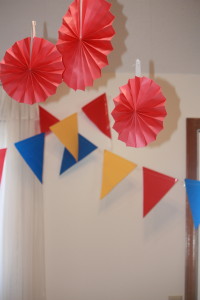
The red fan decorations were actually Christmas decorations that I picked up at 90% off! I just didn't add the Christmas tree circle decoration that was supposed to go in the middle. Whenever you are planning a party check out seasonal and clearance items, often something can be used in an out of the box way and it can save you a lot of money.
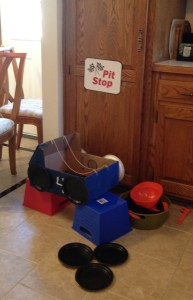
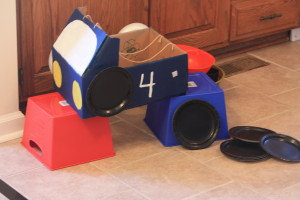
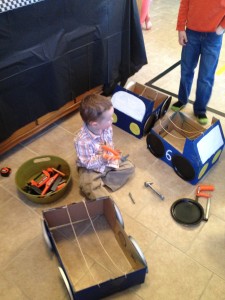
The pit stop was I think the favorite spot for most of the kids. I attached the cars wheels with velcro and made extra wheels so that they could change the tires. We also set out the boys play tool set, so that they could work on their cars. The sign is in the party pack too.
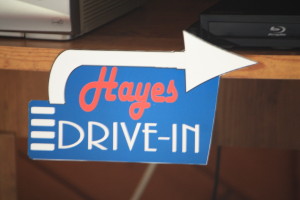
We played the movie "Cars" at the drive in. I just had it running when the kids got there and they could sit and watch when they wanted to.
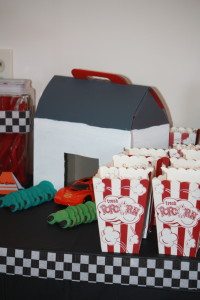
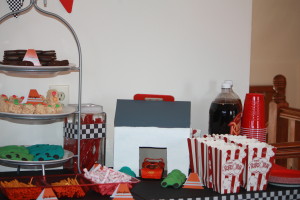
We had these fun little packages of popcorn for our movie goers to enjoy at the drive in.

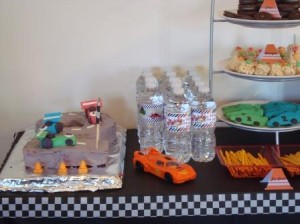
I put this sign next to the race track. If you are lucky enough to be throwing the party outside, it would be fun to print a couple of these and put them on stakes and in the ground around the race track. I had fun with the food. First there is the cake
.
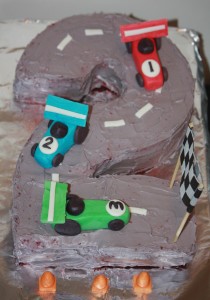
I can't take credit for the idea for this cake. I found it on cakefoodpizza.blogspot.com. I used this tutorial on making a number 2 shaped cake from Trendy Treehouse. And finally a tutorial on how to make your own fondant from How Does She, which really was pretty easy. I used regular frosting to frost the cake and checkered crepe paper and long toothpicks to make the finish line. Everything else on the cake was made of fondant.
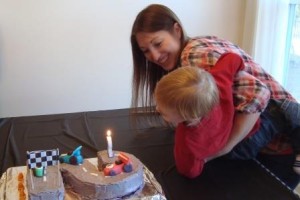
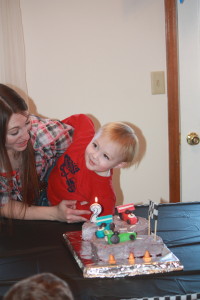

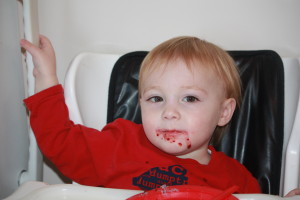
My silly kiddo insisted on red velvet cake. He enjoyed it.
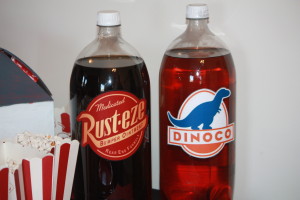
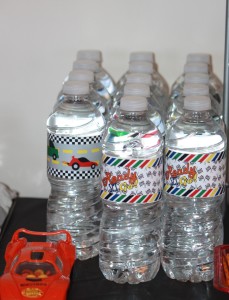
The "oil" and "gasoline" are bottles of Root Beer and Cream Soda. The images I used on the soda pop are NOT in the party pack because they are copyrighted items, but you can find them online and print them. It was a fun extra on the food table.
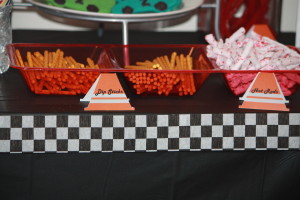
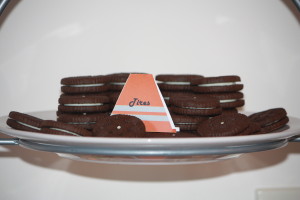
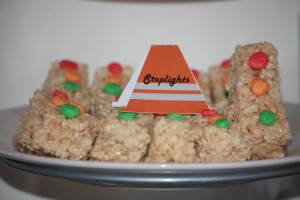
The Construction Cone Food Labels are in the Party Pack (last shameless promoting I promise).
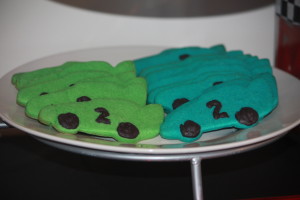
The car cookies were fun to do. Believe it or not, there is no frosting on these cookies. I added a little extra sugar and about 1/8 tsp. Almond Extract to a regular sugar cookie recipe to give them a little more flavor. I took out a spoonful of the dough and put it in a smaller bowl. Then I divided the rest in half and colored one half blue and the other green. I rolled out the dough cut them out with the cookie cutters and then placed them on the pan. I took the spoonful of dough in the small bowl and added water in very small amounts until it was about the consistency of frosting. I dyed it black with food coloring and then put it in a frosting bag. Before baking the cookies I piped the black "dough" out like frosting as the wheels and the numbers. Then I baked them as called for in the recipe. I was a little worried the black would not cook as much as the rest of the cookie, but it turned out great. I made these up about a week before to test it and when they turned out cute, I froze them for the party.
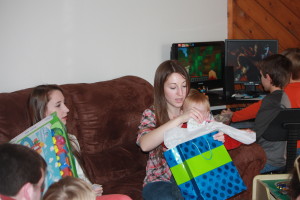
After everyone had their fill of cake, snacks, and playing, we opened presents. Kian just had to open each present all the way up and play with it. What Fun!

$65 Was the budget for this party.
Here's how it broke down:
Printing items: $17.34 I printed them at OfficeMax and they were all printed on cardstock.
Table cloths: $2
Crepe Paper $3.99
Paint for Cardboard Cars: $4
Duct Tape: $5.74
Plates, utensils, Napkins $4
Sticky Velcro for Tires $3
Primary Color banners (found at Walmart) $3
Cake and Fondant $2.45
Food $12.95
Red Fan Decorations .50 cents
Food Coloring $2.65 (I used a 40% off coupon at Hobby Lobby, there is really no way to get black or a real red with regular food coloring so I got gel food coloring)
Total came to $61.62!
It was a great party, I know Kian won't remember it really, but it was so fun to see how excited he was about all of it. The race track and cake I think were his favorite things.


No comments:
Post a Comment